Get Started with Cosmos Reason 2 on Nebius: Inference
Author: Jathavan Sriram Organization: NVIDIA
Cosmos Reason 2 is NVIDIA's open vision-language reasoning model designed for robotics, autonomous driving, and physical world understanding. This guide shows you how to deploy it on Nebius AI Cloud using the Containers over VM feature, which provides on-demand cloud GPUs based API endpoints with minimal setup.
Overview
By the end of this guide, you'll have a working Cosmos Reason 2 API endpoint capable of:
- Analyzing images and videos with natural language queries
- Generating timestamps and structured JSON outputs
- Predicting robot actions and 2D trajectories
- Evaluating synthetic data for physics adherence
| Time to complete | ~15 minutes |
| Model options | 2B (faster, ~5GB VRAM) or 8B (more capable, ~17GB VRAM) |
| GPU requirement | L40S, H100, or equivalent |
Prerequisites
- A Nebius account (sign up here)
- A Hugging Face account with access to Cosmos Reason 2
- Python 3.10+ (for running the inference examples)
jqcommand-line tool (for parsing JSON responses in curl examples) - installation guide
Step 1: Create a Nebius Container over VM Instance with Cosmos Reason 2
Containers over VMs let you deploy a GPU-powered VM with vLLM pre-installed—no manual Docker setup required. The VM automatically gets a public IP for immediate API access.
-
Log in to your Nebius AI Cloud account
-
Navigate to the Containers over VM section

-
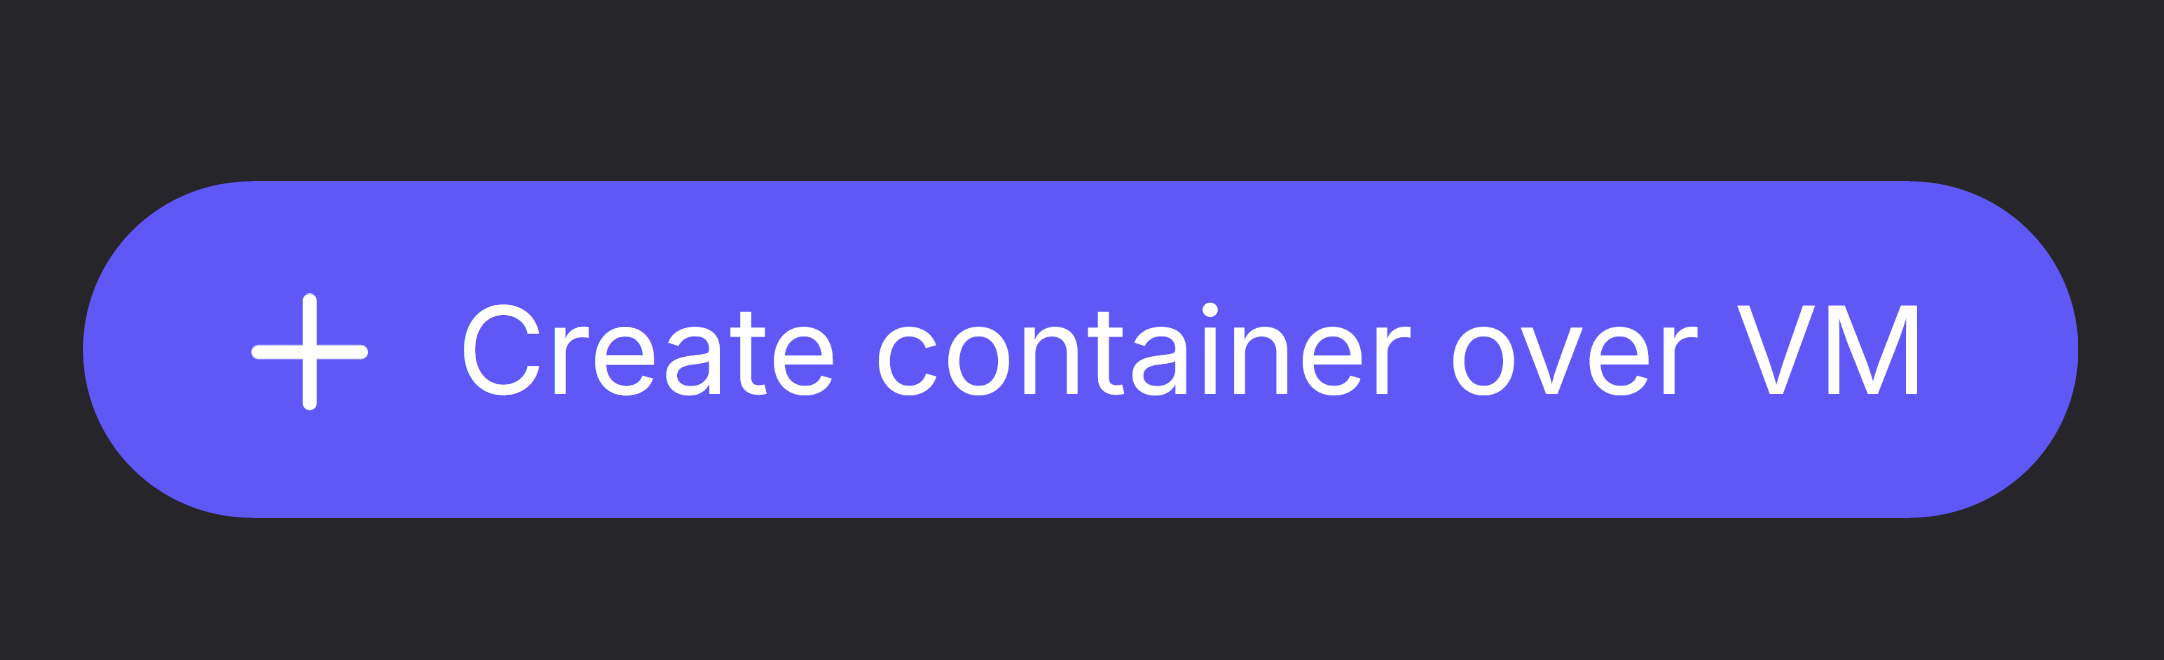
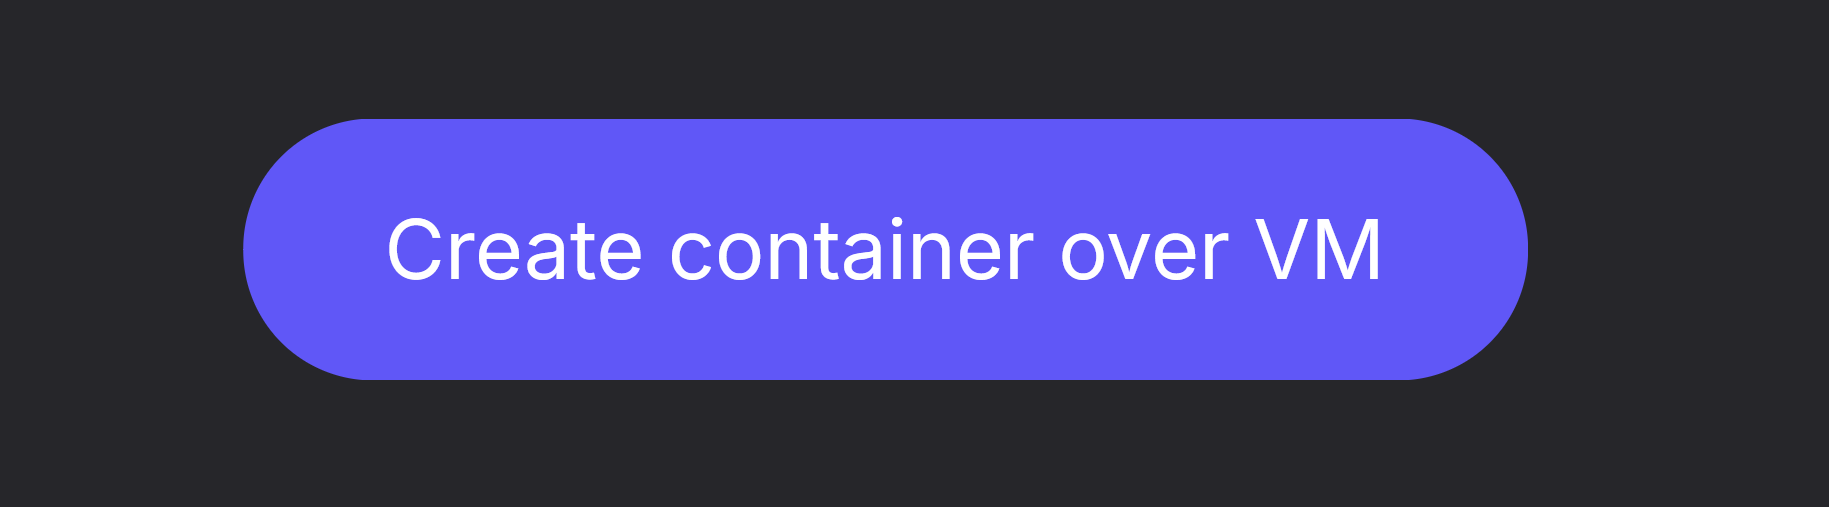
Hit Create container over VM for a new VM
-
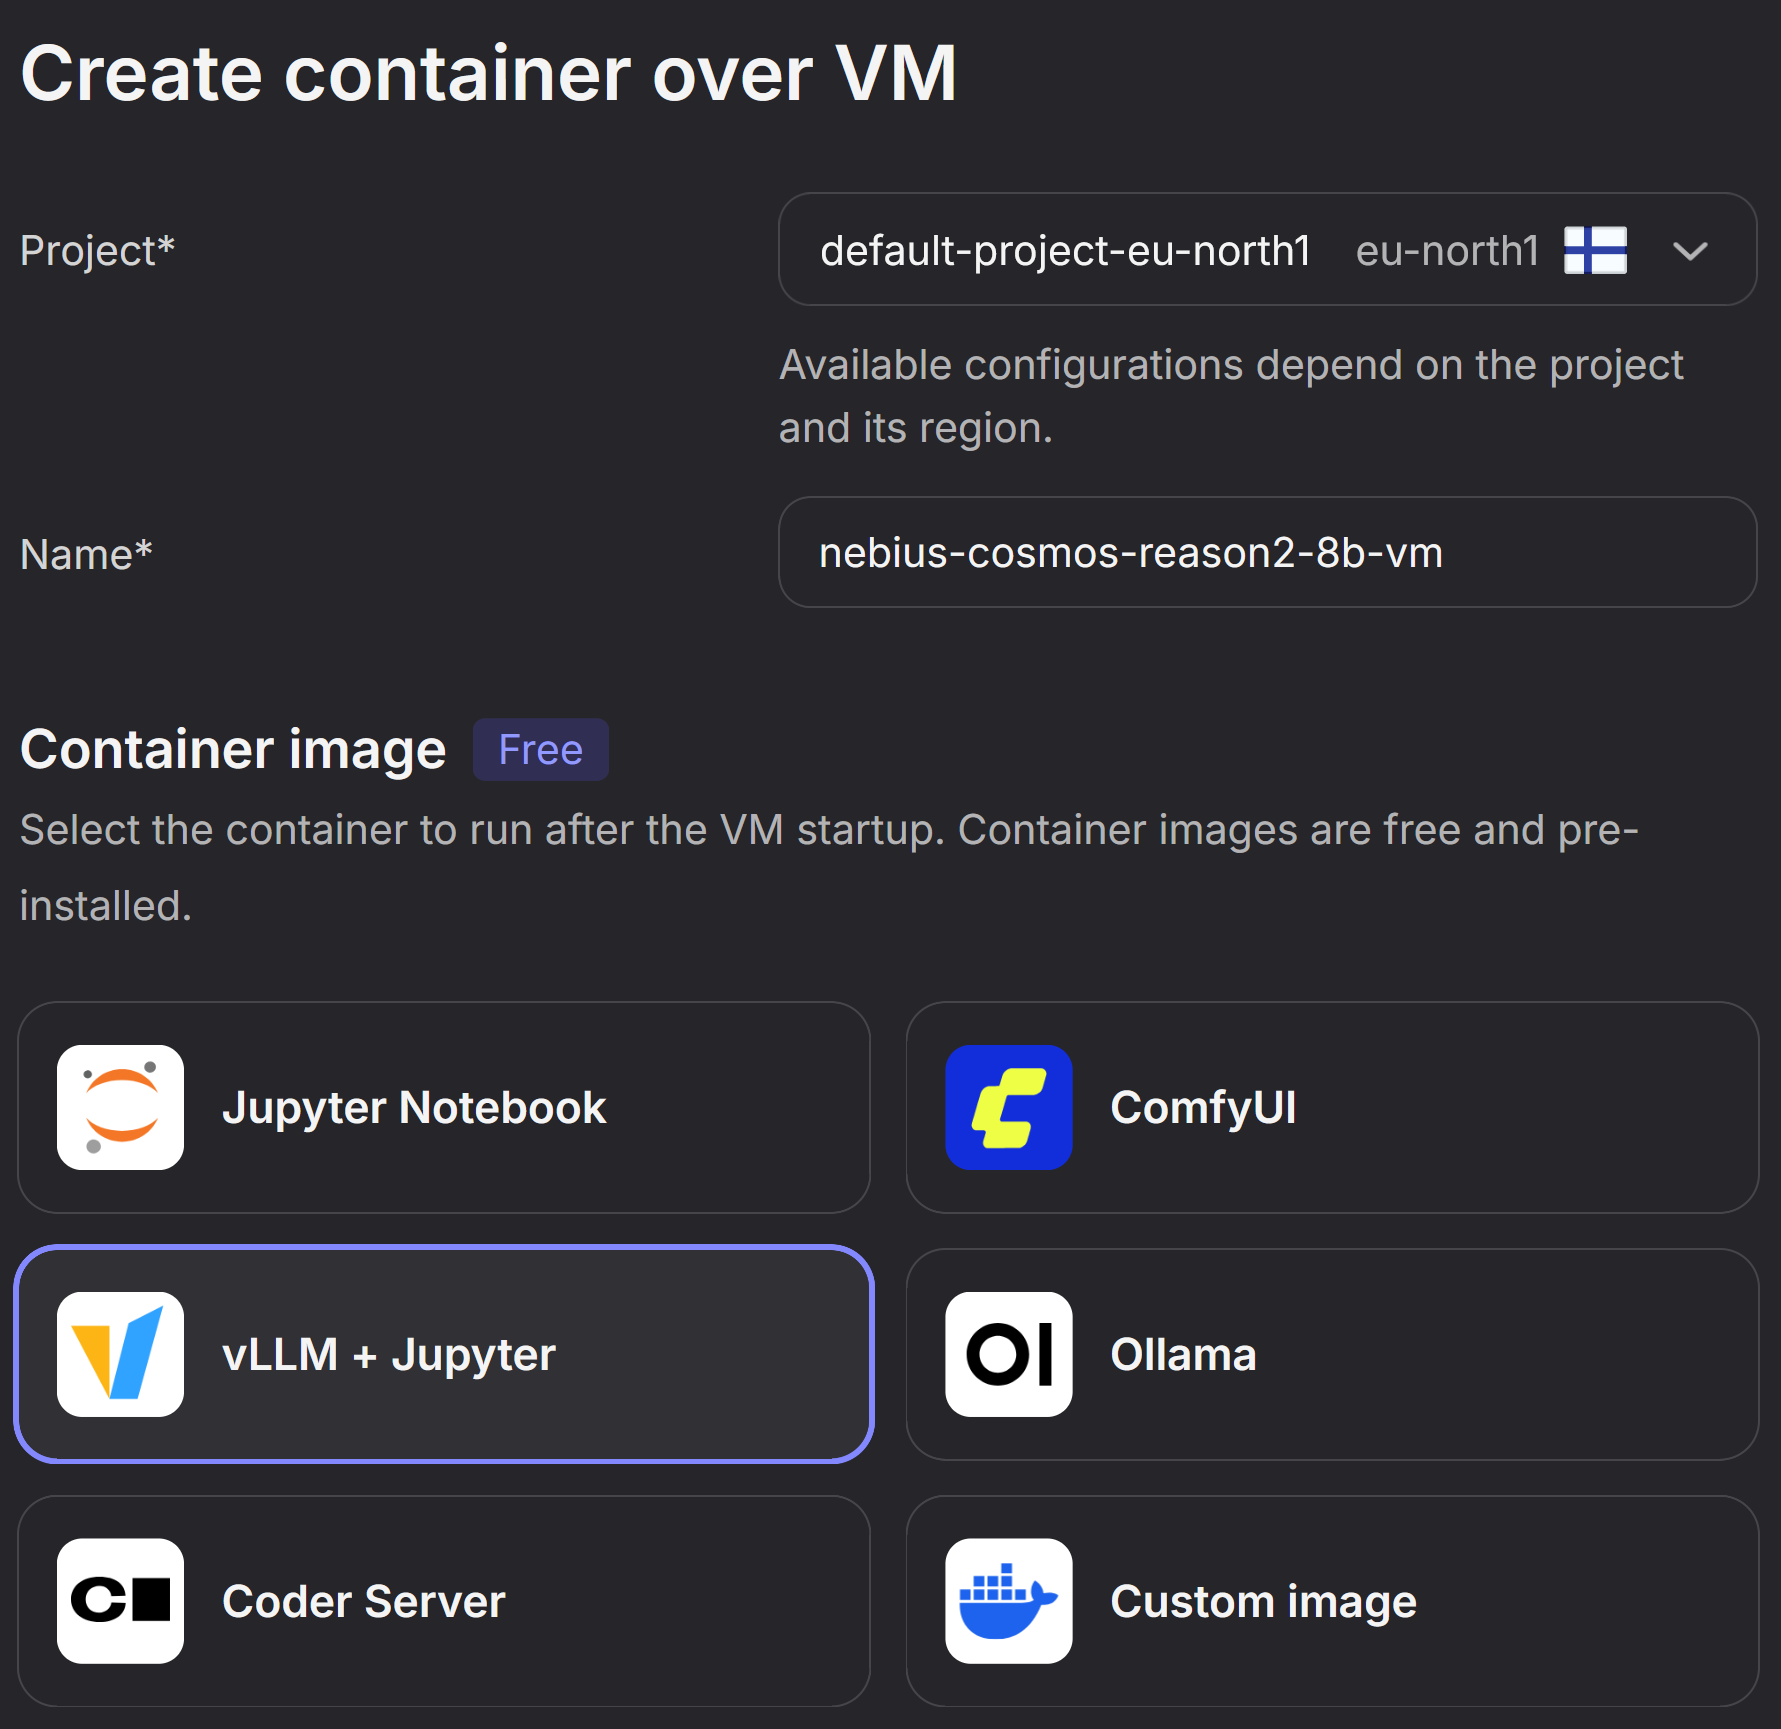
Configure Project, Name and Container Image
- Select the Project in your desired region. Keep in mind that the type of GPUs available might vary based on region. You can read more about this in the Nebius documentation.
- Provide a Name for your VM
- Select the vLLM+Jupyter image preset
-
Configure vLLM Model Name
- Set the vLLM Model Name to one of:
nvidia/Cosmos-Reason2-2Bnvidia/Cosmos-Reason2-8B

-
Configure Hugging Face Token
Enter your Hugging Face token here. You can create a token in your Hugging Face Account Settings. For further reading please check the Hugging Face Documentation.
Important: Make sure your token is configured for read access to the Cosmos-Reason2-8B and Cosmos-Reason2-2B repository.

-
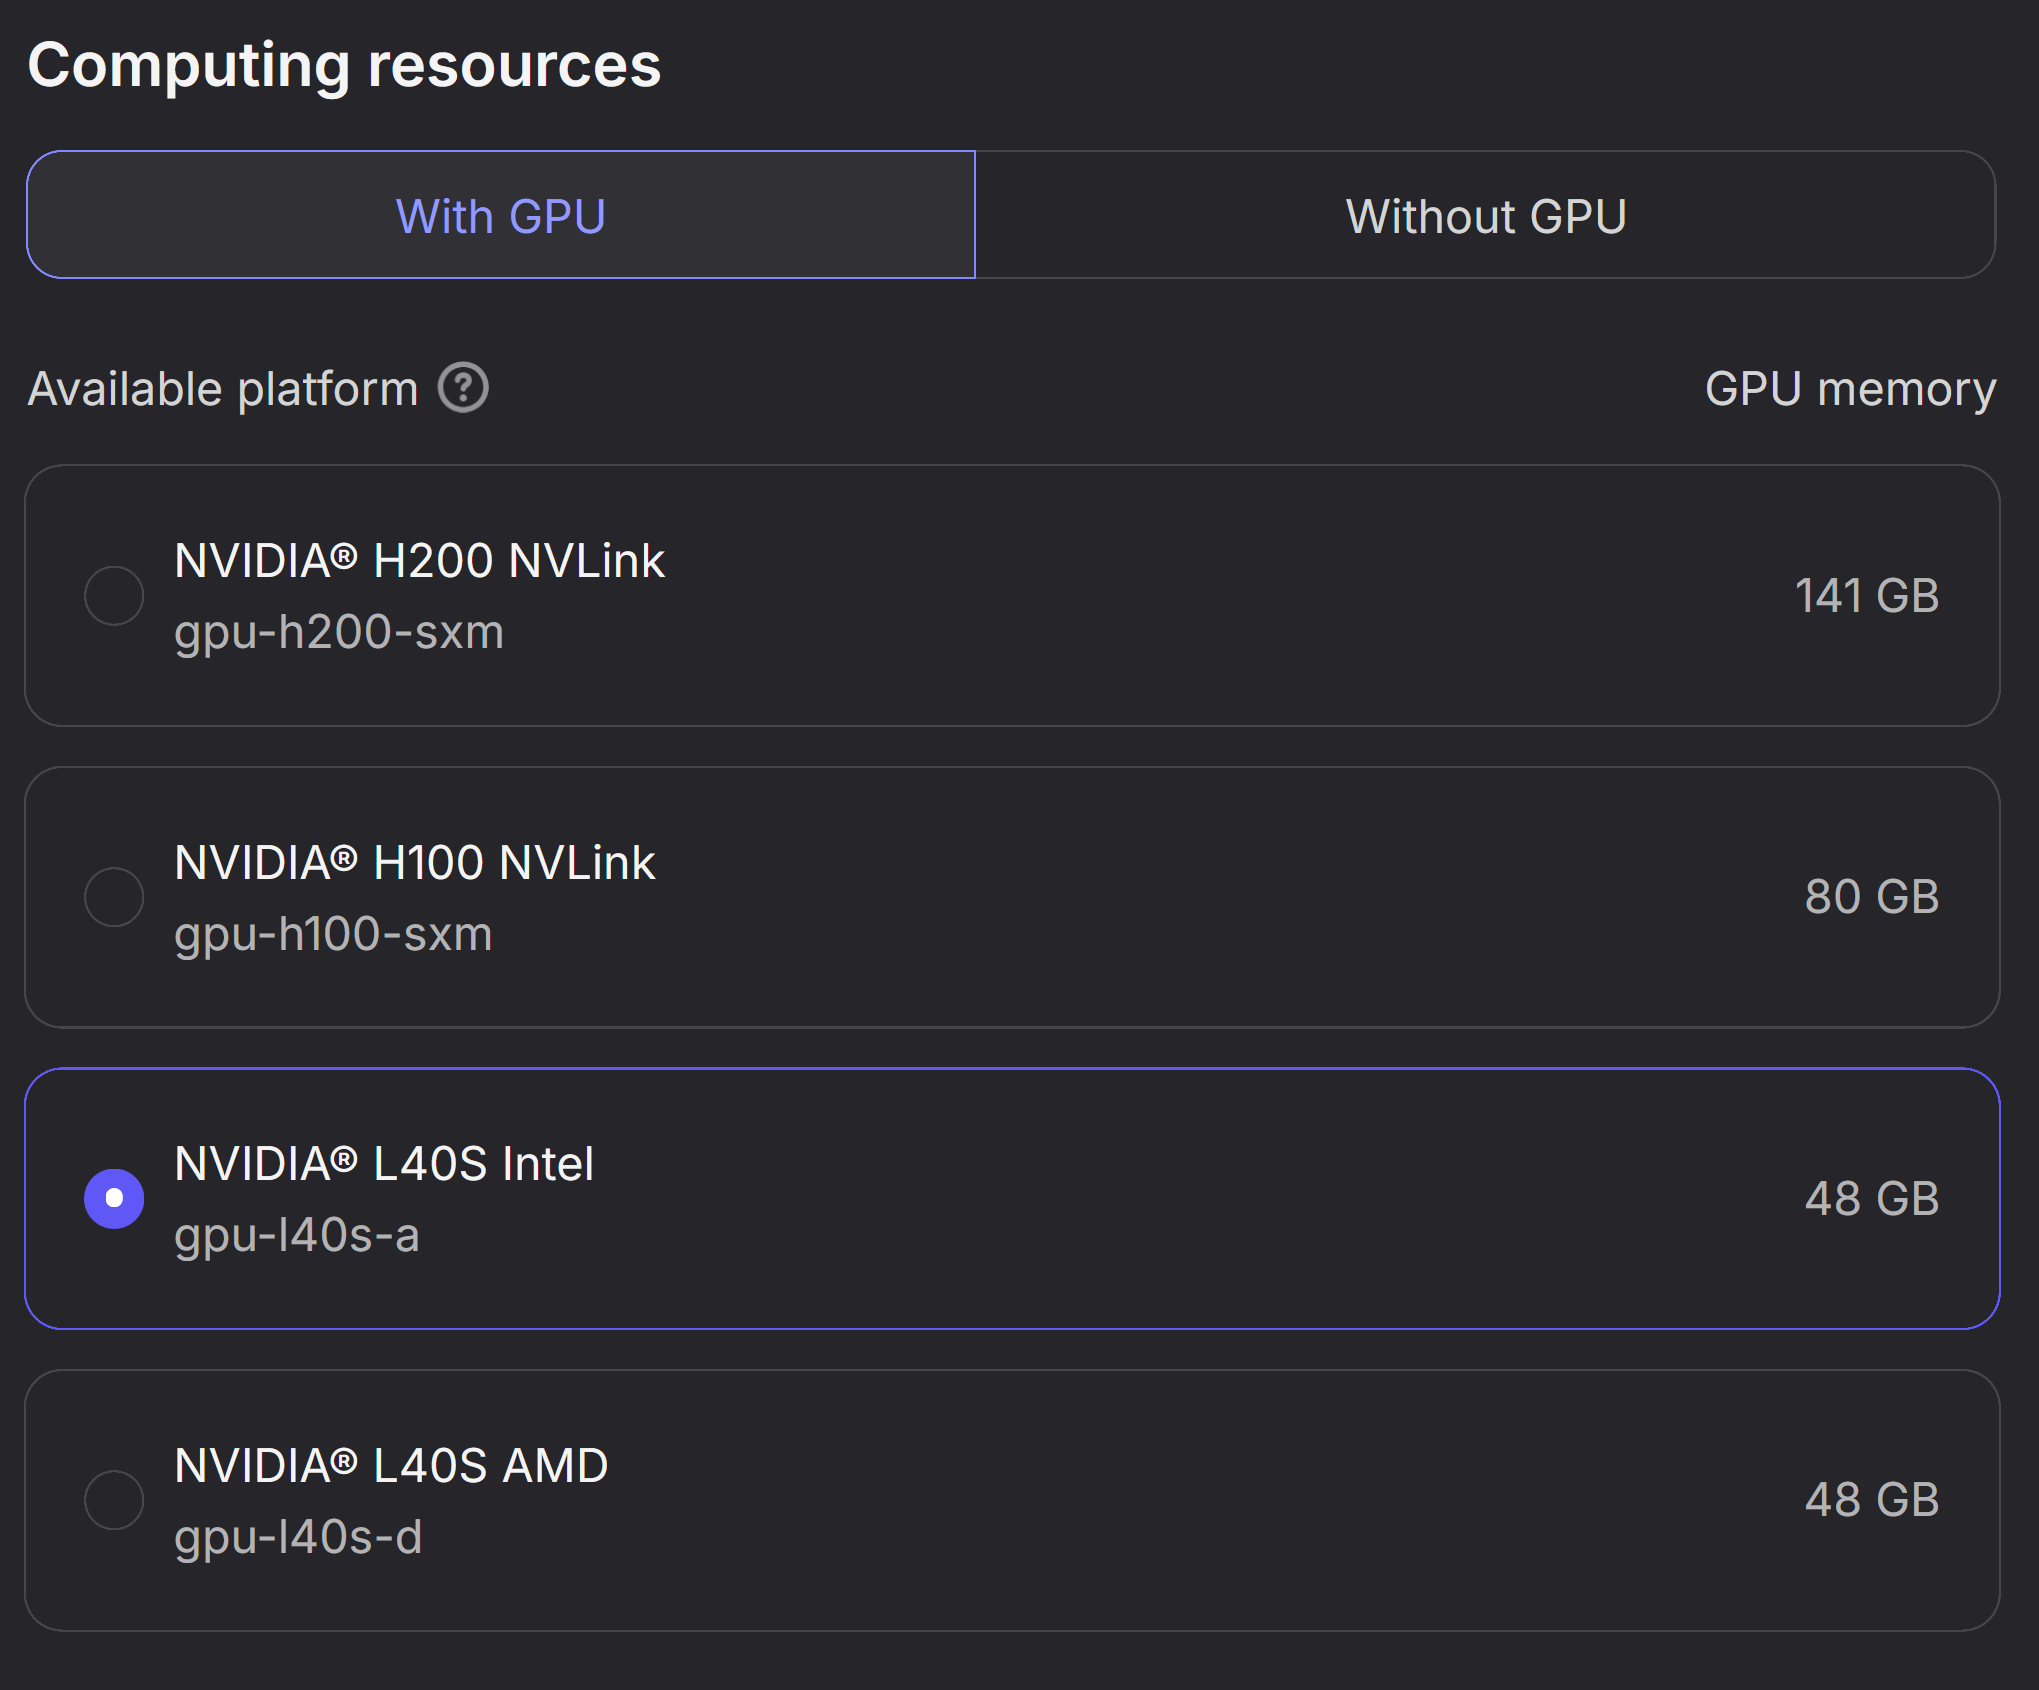
Select Computing resources
In this step you need to select the GPU Instance you want to run on. To understand which GPUs are supported, please visit the Supported Models Documentation.
In the example below, an L40S instance is selected.
-
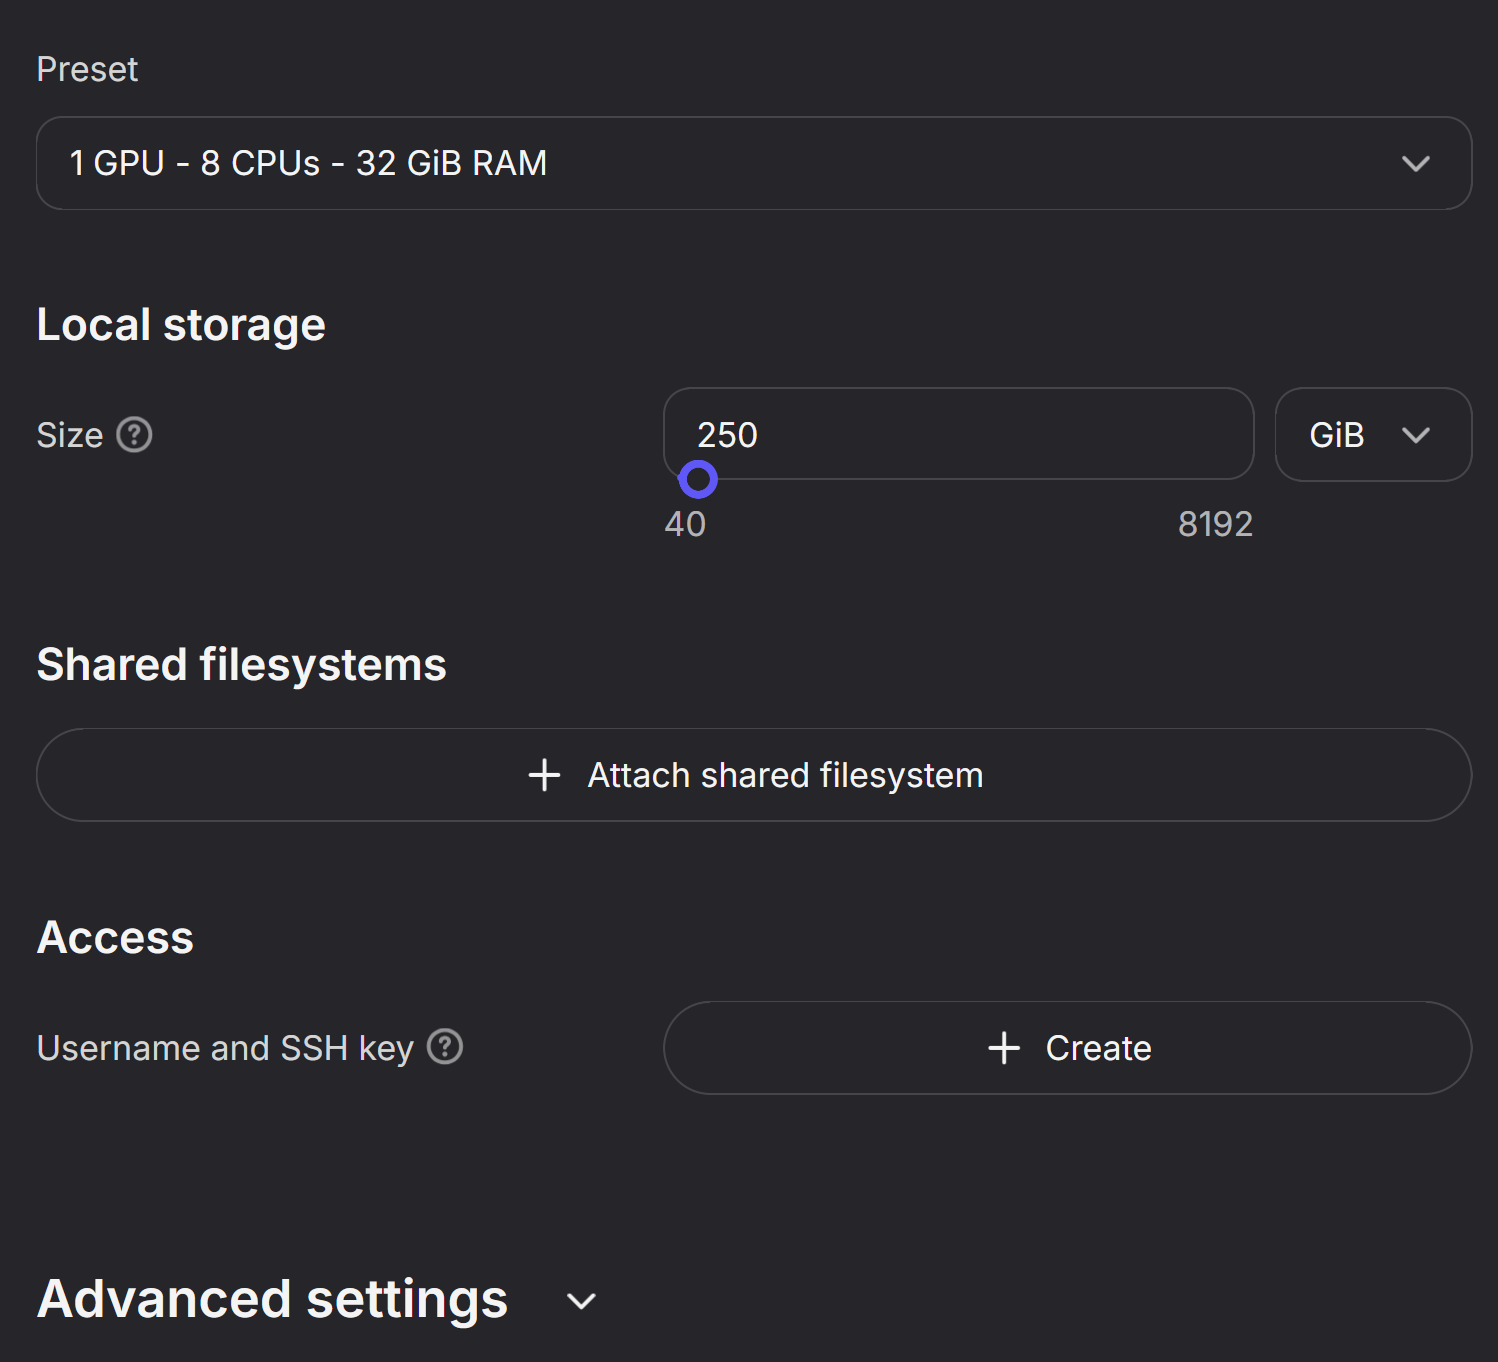
Additional Settings
Keep the default preset. If needed you can configure further settings like SSH keys and network or stick with the defaults.
-
Confirm and Create VM
Hit the Create container over VM button at the end of the configuration to create your instance.
-
Wait for setup to be operational
It takes approx. 5-10 minutes for the VM and Container for Cosmos to become operational. The status will change from
PullingtoContainer Running.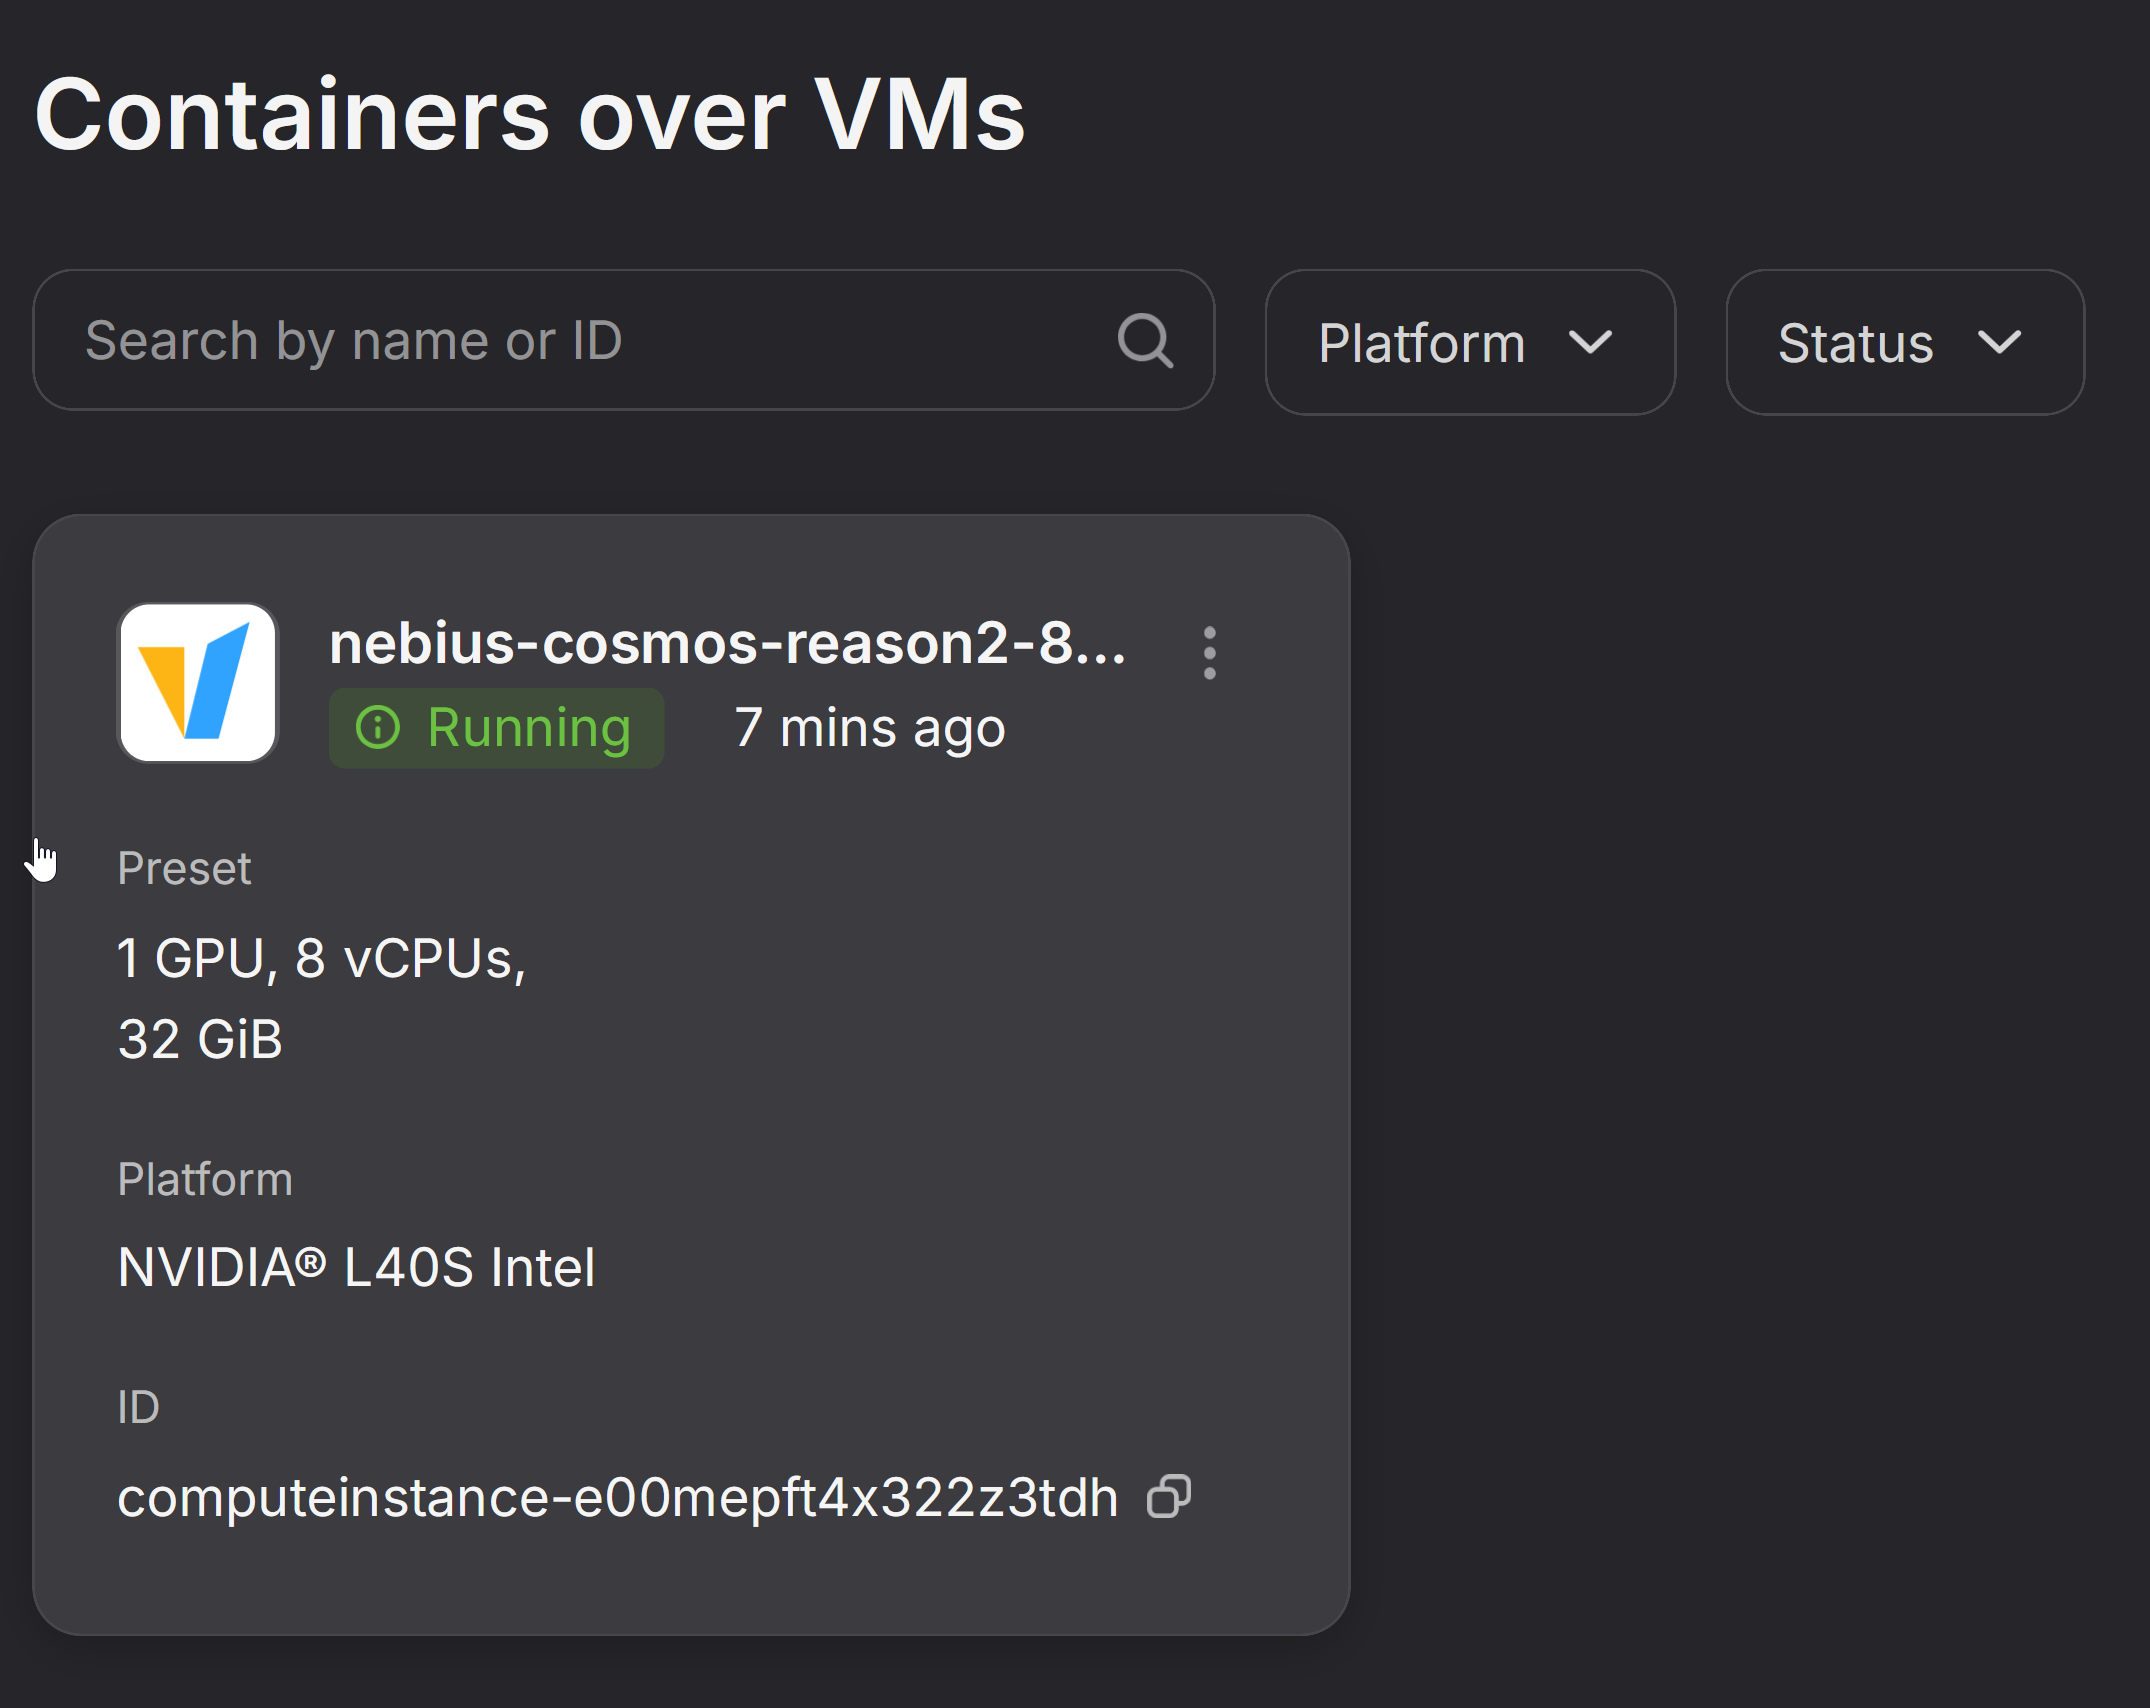
Step 2: Run Inference with Cosmos Reason 2
Once your instance shows Container Running, you can start making API calls. First, you'll retrieve your endpoint URL and API key from the Nebius console, then test the connection with a simple curl command.
Note: The vLLM server may take 1-2 additional minutes to initialize after the container starts. If you get connection errors, wait and retry.
-
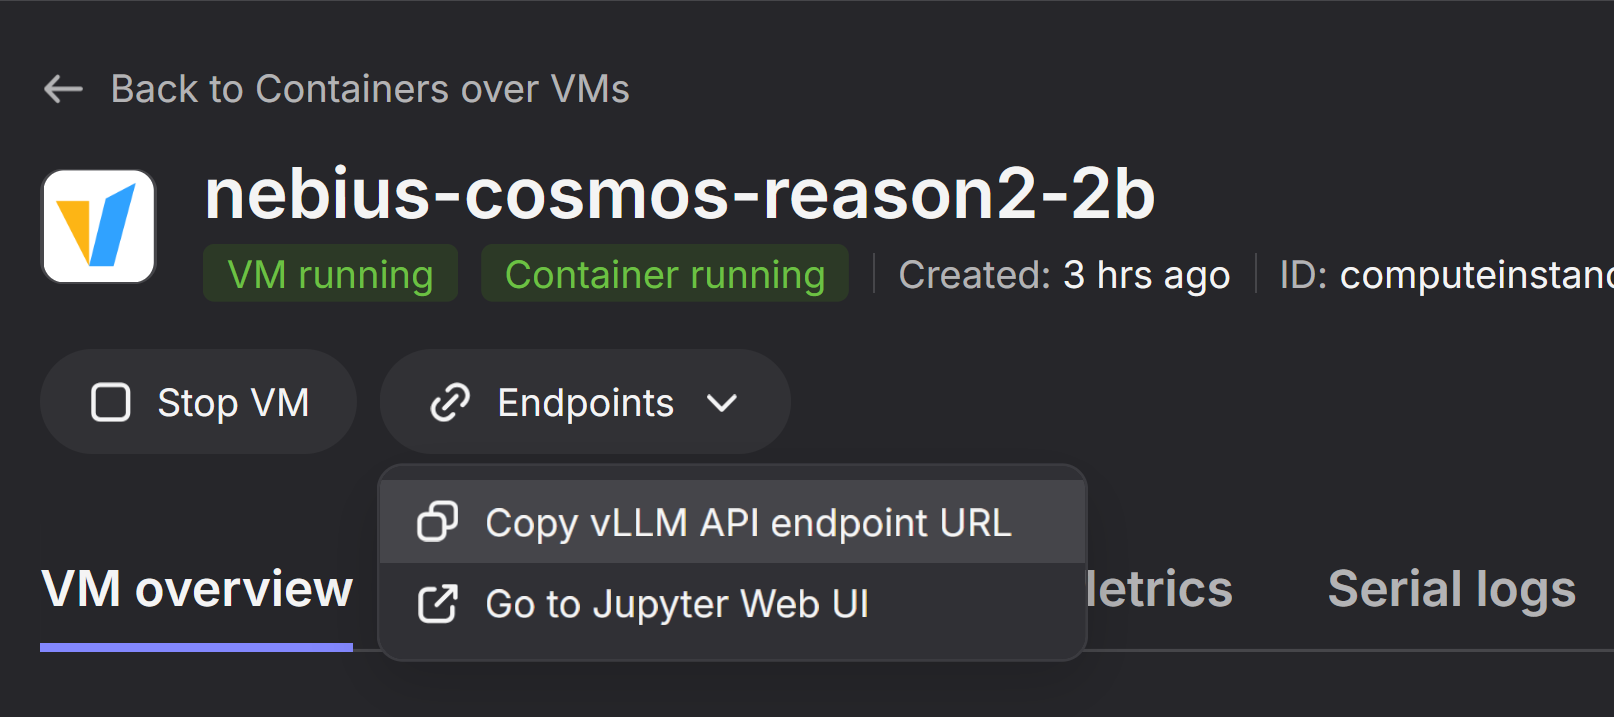
Get vLLM Endpoint
- Navigate in the Nebius Web Console to the created VM
- At the top hit Endpoints
- Select the
Copy vLLM API endpoint URLto receive the Endpoint URL - The Endpoint URL will have the format
PUBLICIP:PORT
-
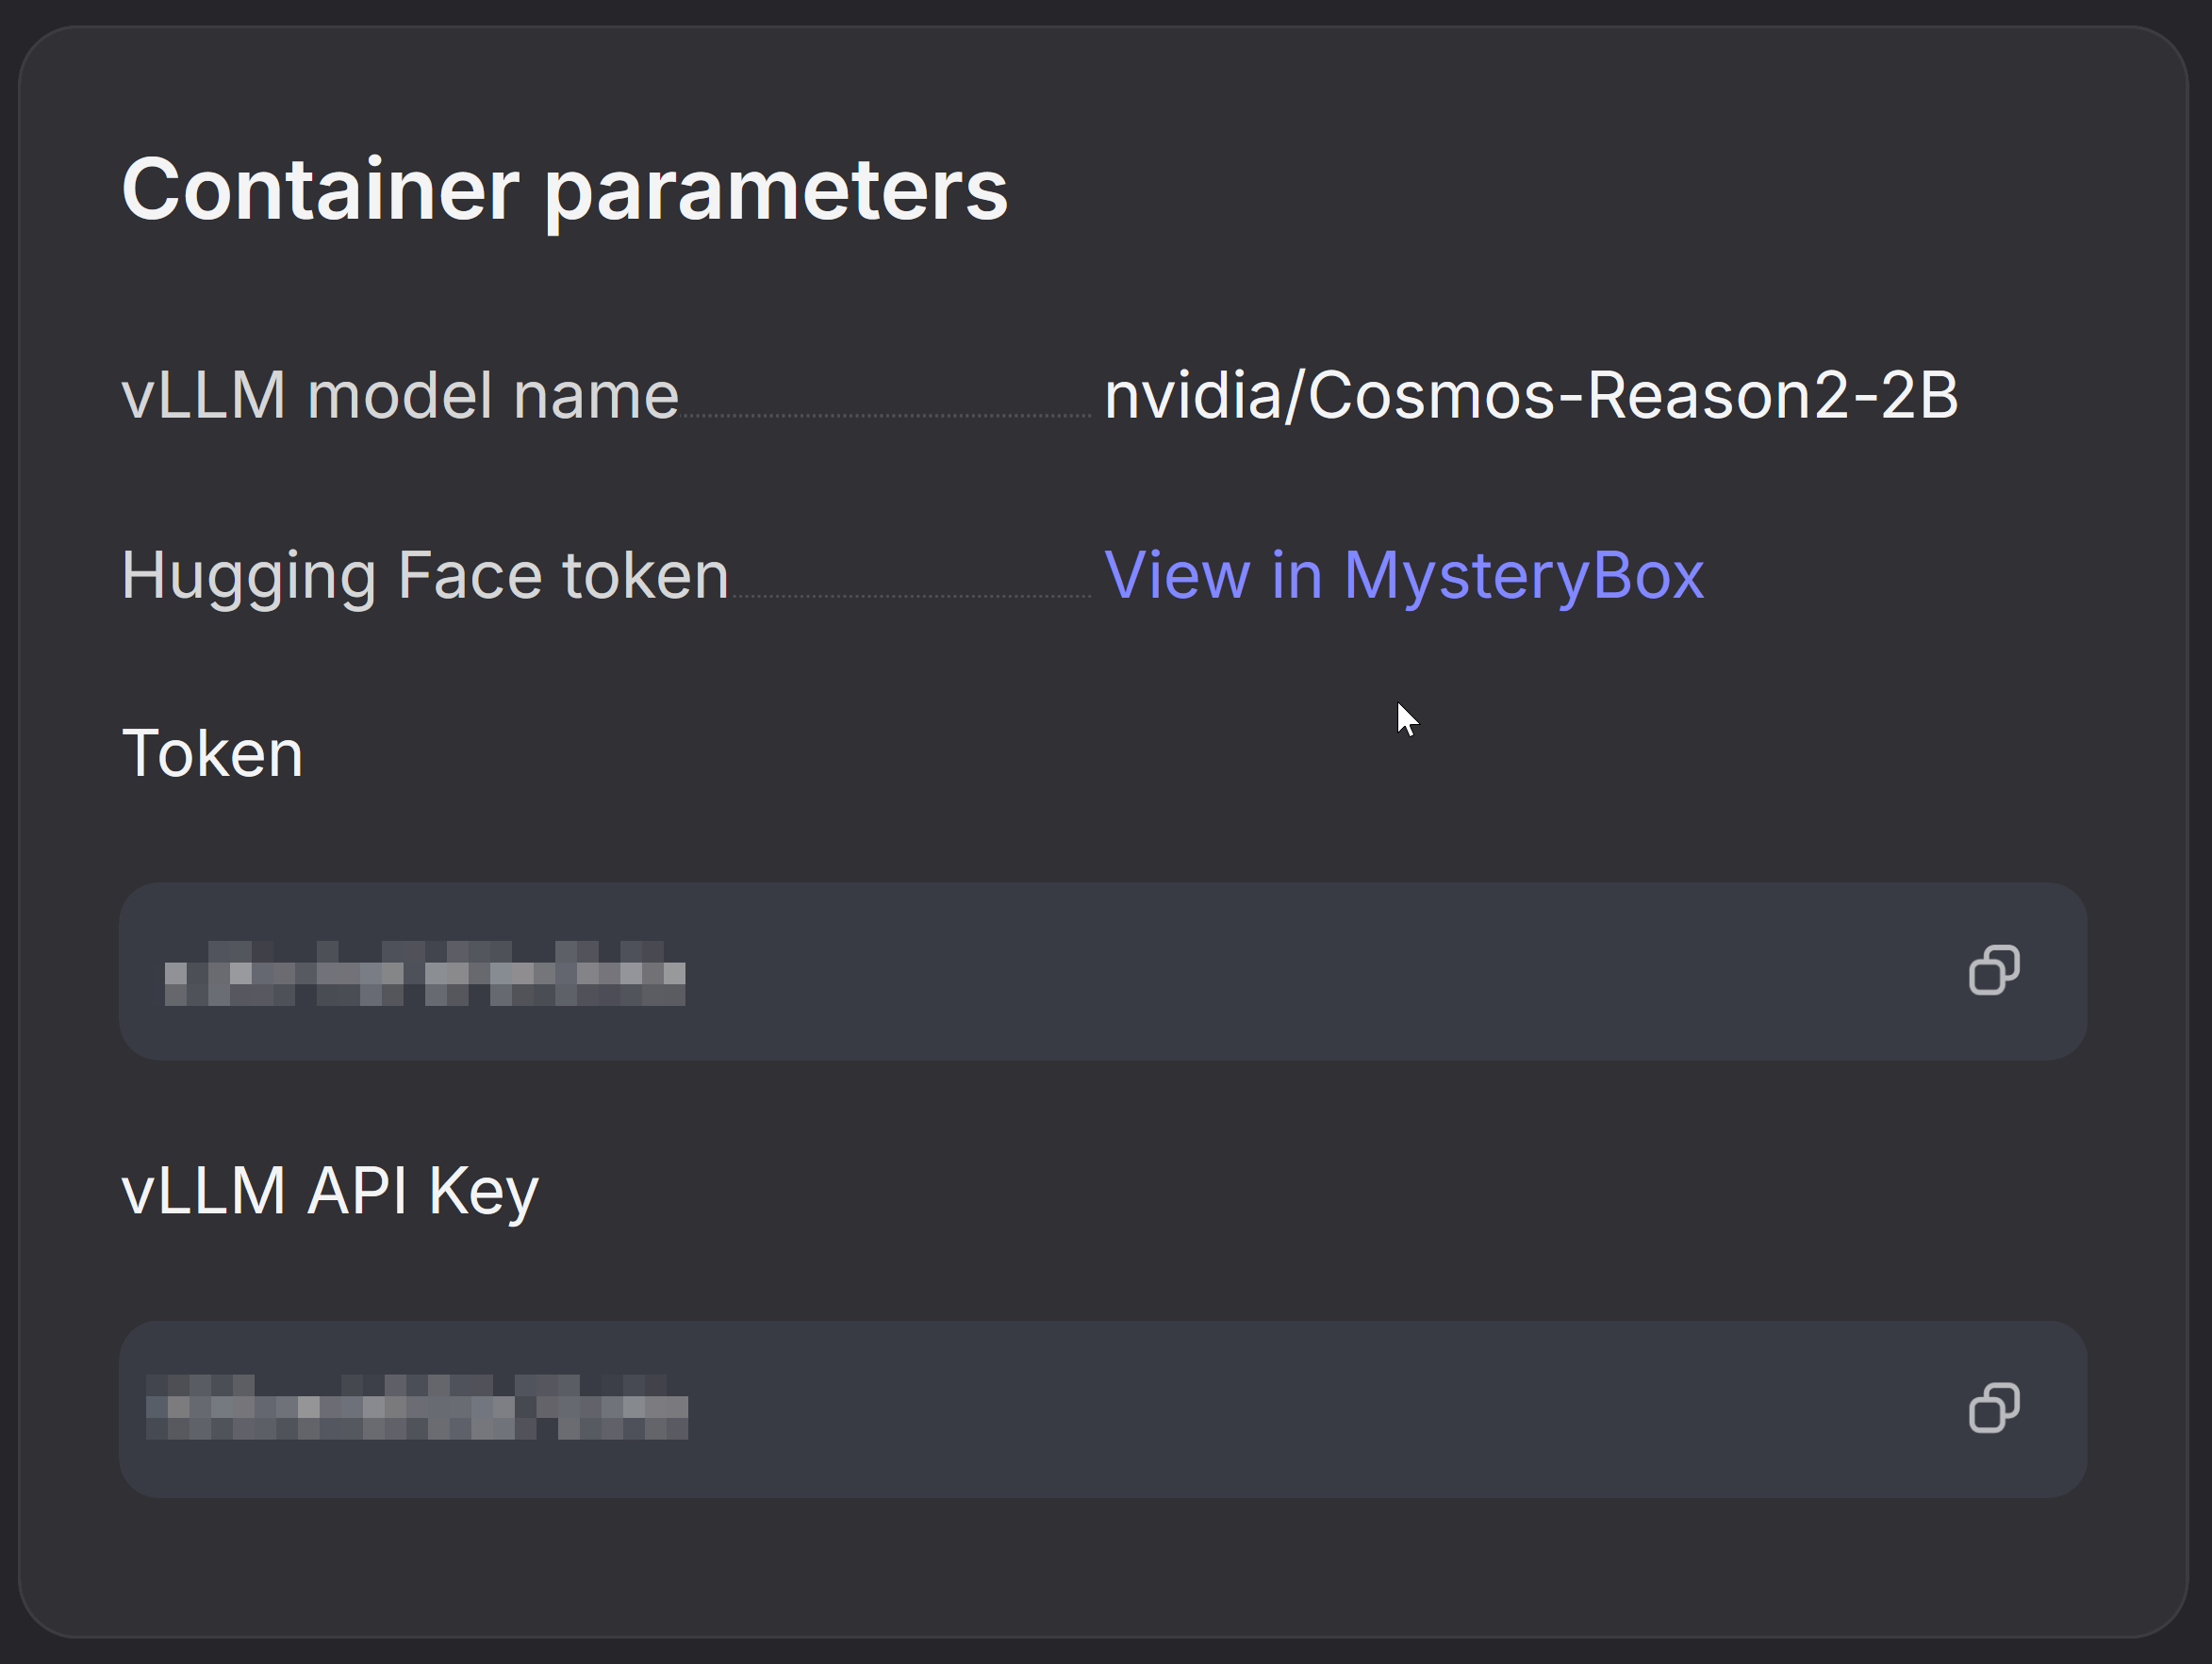
Get vLLM API Key
- Look for the section Container Parameters
- Copy the vLLM API Key
Basic Connection Test
Export your credentials as environment variables, then test the endpoint with a simple query:
# Replace with your actual endpoint values from the Nebius Console:
export VLLM_ENDPOINT="PUBLICIP:8000"     # Format: PUBLIC_IP:PORT
export VLLM_API_KEY="YOUR_API_KEY"         # Copy from vLLM API Key

# You can now reference these variables in your curl command:
curl -s http://$VLLM_ENDPOINT/v1/chat/completions \
  -H "Content-Type: application/json" \
  -H "Authorization: Bearer $VLLM_API_KEY" \
  -d '{
    "model": "nvidia/Cosmos-Reason2-2B",
    "messages": [
      {"role": "user", "content": "What is a robot?"}
    ],
    "max_tokens": 512
  }' | jq -r '.choices[0].message.content'
You should see an output similar to this:
A robot is an automated machine capable of performing tasks that typically require human intelligence, such as recognizing objects, understanding language, or adapting to changing environments. Robots can be programmed to mimic human actions, learn from experience, and even solve problems autonomously. They are widely used in industries like manufacturing, healthcare, and service sectors to enhance efficiency and safety.
Running Cosmos Reason 2 Inference Examples
This section provides a Python script that runs through multiple Cosmos Reason 2 prompt tests, demonstrating various capabilities like image/video understanding, temporal localization, robotics reasoning, and synthetic data critique.
Set Up Your Local Environment
First, clone the repository and install dependencies on your local machine:
# Clone the repository (if you haven't already)
git clone https://github.com/nvidia-cosmos/cosmos-cookbook.git
cd cosmos-cookbook/docs/getting_started/nebius/reason2/src

# Create a virtual environment (recommended)
python -m venv venv
source venv/bin/activate  # On Windows: venv\Scripts\activate

# Install dependencies
pip install -r requirements.txt
Configure Environment Variables
Set up your connection details using the values from the Nebius Console:
# Set your vLLM endpoint and API key
export VLLM_ENDPOINT="YOUR_PUBLIC_IP:8000"  # e.g., "89.169.115.247:8000"
export VLLM_API_KEY="YOUR_VLLM_API_KEY"
Run the Test Script
The cosmos_reason2_tests.py script includes multiple test cases covering different Cosmos Reason 2 capabilities:
| Test ID | Test Name | Description |
|---|---|---|
1_basic_image |
Basic Image Understanding | Simple image description |
2_basic_video |
Basic Video Understanding | Simple video captioning |
3_temporal_localization |
Temporal Localization | Video with timestamps (mm:ss) |
4_temporal_json |
Temporal JSON Output | Video events in JSON format |
5_robotics_next_action |
Robotics Next Action | Predict robot's next action |
6_2d_trajectory |
2D Trajectory Creation | Generate gripper trajectory coordinates |
7_sdg_critic |
SDG Critic | Evaluate video for physics adherence |
8_2d_grounding |
2D Object Grounding | Locate objects with bounding boxes |
Run all tests:
Run specific tests:
# Run only image and video basic tests
python cosmos_reason2_tests.py --tests 1_basic_image 2_basic_video

# Run robotics-related tests
python cosmos_reason2_tests.py --tests 5_robotics_next_action 6_2d_trajectory
List available tests:
Use command-line arguments instead of environment variables:
python cosmos_reason2_tests.py \
    --host 89.169.115.247 \
    --port 8000 \
    --api-key YOUR_API_KEY \
    --tests all
Review Results
The script will output results for each test, including:
- The prompt sent to the model
- The model's response
- Token usage statistics
Example output:
======================================================================
Test: Basic Image Understanding
Description: Simple image description without reasoning
======================================================================

Media URL: https://assets.ngc.nvidia.com/products/api-catalog/cosmos-reason1-7b/critic_rejection_sampling.jpg
Prompt: What is in this image? Describe the objects and their positions.

Waiting for response...

----------------------------------------------------------------------
Response:
----------------------------------------------------------------------
The image shows a tabletop scene with several objects arranged on it...

[Tokens - Prompt: 1234, Completion: 256, Total: 1490]
Key Prompting Patterns
The test script demonstrates important prompting patterns from the Cosmos Reason 2 Prompt Guide:
- Media-First Ordering: Images/videos appear before text in the message content
- Reasoning Mode: Use
<think>...</think>tags to enable chain-of-thought reasoning - Structured Output: Request JSON format for machine-readable outputs
- Sampling Parameters: Adjust temperature and top_p based on task requirements
For more details on prompting Cosmos Reason 2, see the full Prompt Guide.
Troubleshooting
Model Download Issues
If the model fails to download:
- Verify your Hugging Face authentication:
huggingface-cli whoami - Ensure you have accepted the model license on Cosmos-Reason2-8B
- Check your internet connection
- Try downloading manually:
huggingface-cli download nvidia/Cosmos-Reason2-8B
Connection Refused
If you get a "connection refused" error:
- Verify the VM status shows
Container Runningin the Nebius console - Wait 2-3 minutes after startup for vLLM to fully initialize
- Confirm the endpoint URL format:
http://PUBLIC_IP:8000(nothttps) - Check that port 8000 is accessible (Nebius opens it by default)
401 Unauthorized
If you receive an authentication error:
- Confirm you're using the correct vLLM API Key from Container Parameters (not your HuggingFace token)
- Verify the
Authorization: Bearer YOUR_KEYheader format in your request - Regenerate the API key in the Nebius console if needed
Timeout or Slow Response
If requests are timing out or very slow:
- The first request may take 30-60 seconds due to model warm-up
- Large images or long videos increase processing time
- Check GPU memory usage - the 8B model requires more VRAM than the 2B model
- Consider using the 2B model for faster responses during development
Resource Management
Cost Warning: GPU instances incur charges while running. Always stop or delete your instance when not in use to avoid unexpected costs.
Stopping Your Instance
- Go to Nebius Console → Compute → Containers over VMs
- Find your instance in the list
- Click the ⋮ (three dots) menu on the right
- Select:
- Stop - Pauses the instance (preserves configuration, stops billing for compute)
- Delete - Permanently removes the instance and its data
Monitoring Costs
Visit Billing in your Nebius console to monitor your usage and spending.
Additional Resources
Support
For issues related to:
- Cosmos Reason 2: Open an issue on the GitHub repository
- Nebius Platform: Contact Nebius support